CSV Files (Deprecated)
Warning: The CSV data source used in this tutorial has been replaced. You can find instructions for the new one [here]({% link _kb/data-sources/querying/csv-excel-files %}). You can still use the deprecated source by manually adding it to your installation. The source code is available under the same license as DataReporter at this link.
Intro
You can’t upload files to DataReporter directly. Instead, you have to pull them from somewhere. This guide shows how to load data from CSV files into DataReporter and query it with QRDS.
Step 1: Configure your data sources
Danger: If you did this already, go to step 2.
You need two data sources to get started.
- CSV
- Query Results
Info: Only admins can add data sources.
From Settings visit the Data Sources tab. For each data source click New Data Source. Search for the data source type, click it, and name it.
It is easy to configure both data sources. Just name them (CSV and QR are
most common) and click Create.
Warning: If you aren’t certain, leave the
HTTP Basic Authenticationoptions blank on the CSV screen. You will know if these are required to access your file.
Step 2: Host your CSV at a public URL
Any host will work if it exposes a raw CSV file through a URL. Most of the popular file sharing platforms — including Dropbox, Google Sheets, OneDrive, and Github — show a file preview by default instead of the raw file.
So you might need to dig a little for the right link.
Shortcuts for a few common providers appear below.
Dropbox
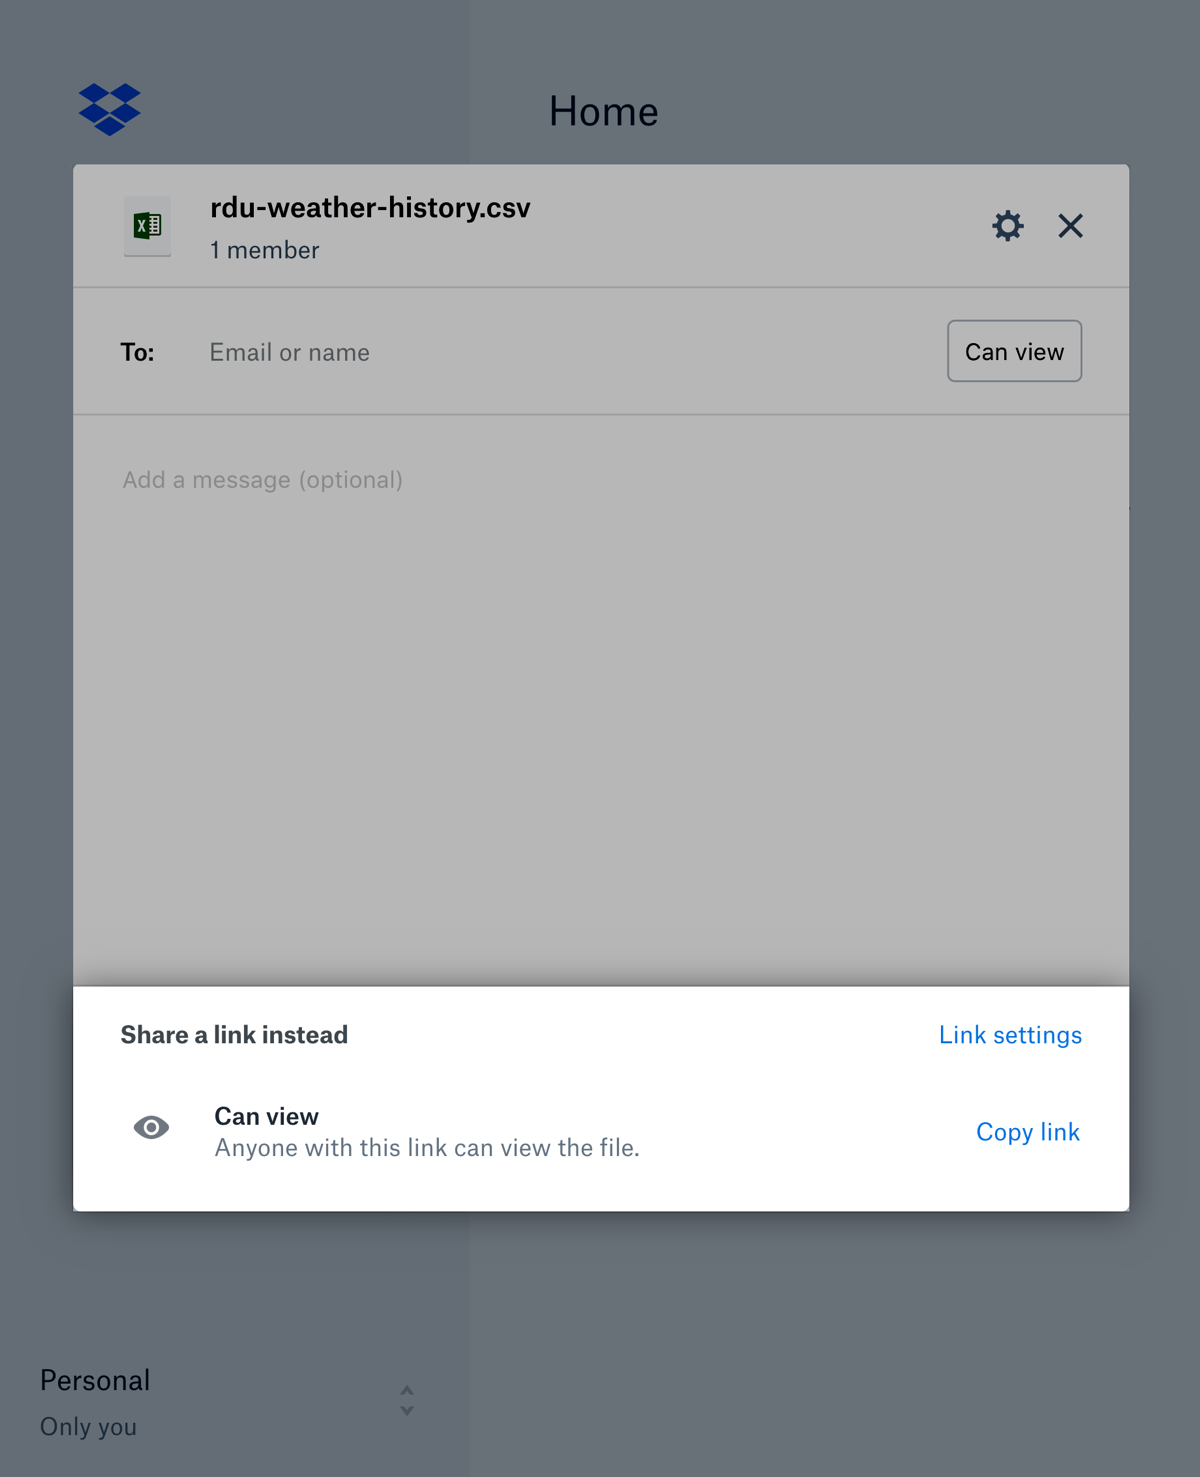
Generate a share link with permissions set so Anyone With Link can access the
file. The link will look like this:
https://www.dropbox.com/s/fc5e038d38a570/filename.csv?dl=0
Change the subdomain from www to dl. Then change the domain from
dropbox.com to dropboxusercontent.com
The complete URL is:
https://dl.dropboxusercontent.com/s/fc5e038d38a570/filename.csv?dl=0
Google Drive
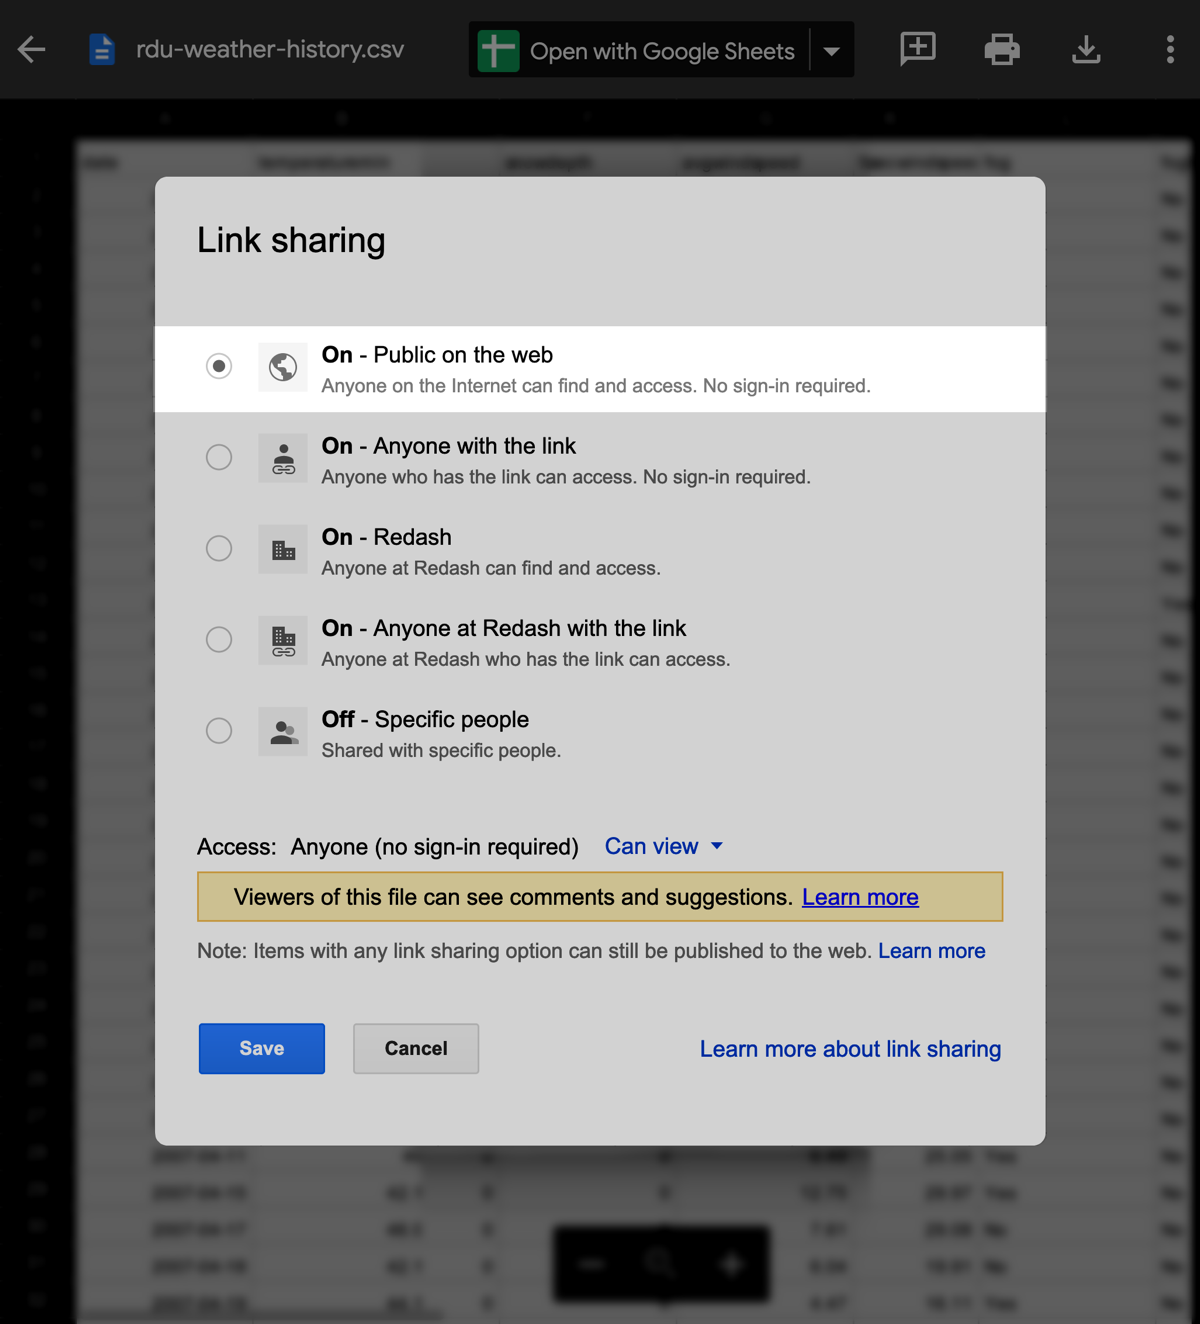
Generate a share link with permissions set so Anyone with link can view the
file. The link will look like this:
https://drive.google.com/file/d/fc5e038d38a570/view?usp=sharing
Copy the file identifier fc5e038d38a570 and add it to the end of this URL:
https://drive.google.com/uc?id=
The complete URL is: https://drive.google.com/uc?id=fc5e038d38a570
OneDrive
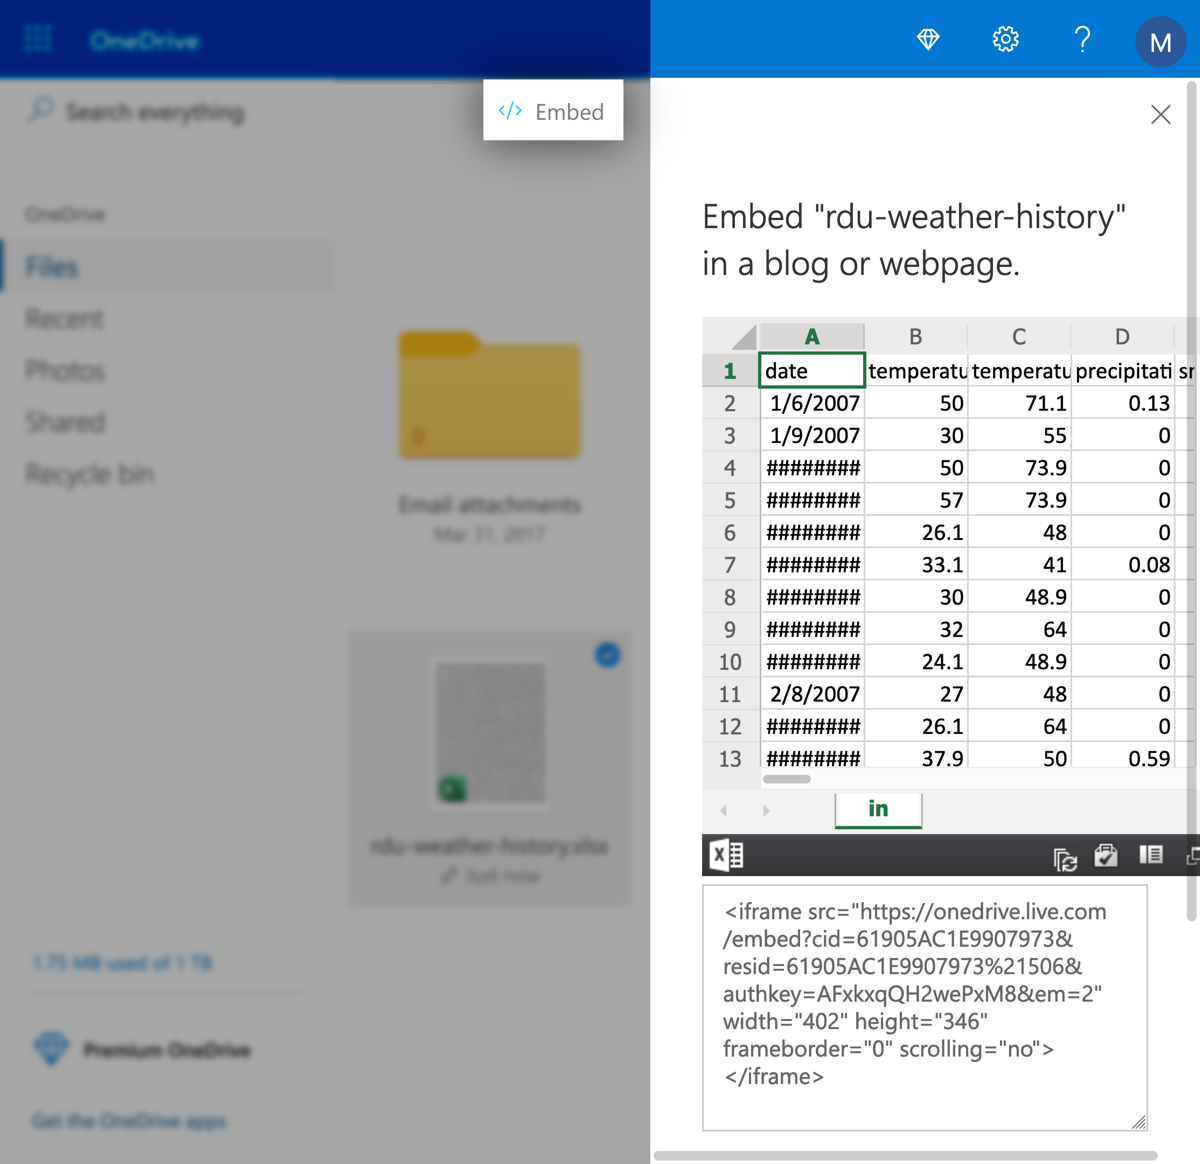
Generate an HTML embed snippet for your file. Then copy its src attribute. The
attribute looks like this:
https://onedrive.live.com/embed?cid=61905AC1E9907973&resid=61905AC1E9907973%21506&authkey=AFxkxqQH2wePxM8
Change the word embed to download.
The complete URL is:
https://onedrive.live.com/download?cid=61905AC1E9907973&resid=61905AC1E9907973%21506&authkey=AFxkxqQH2wePxM8
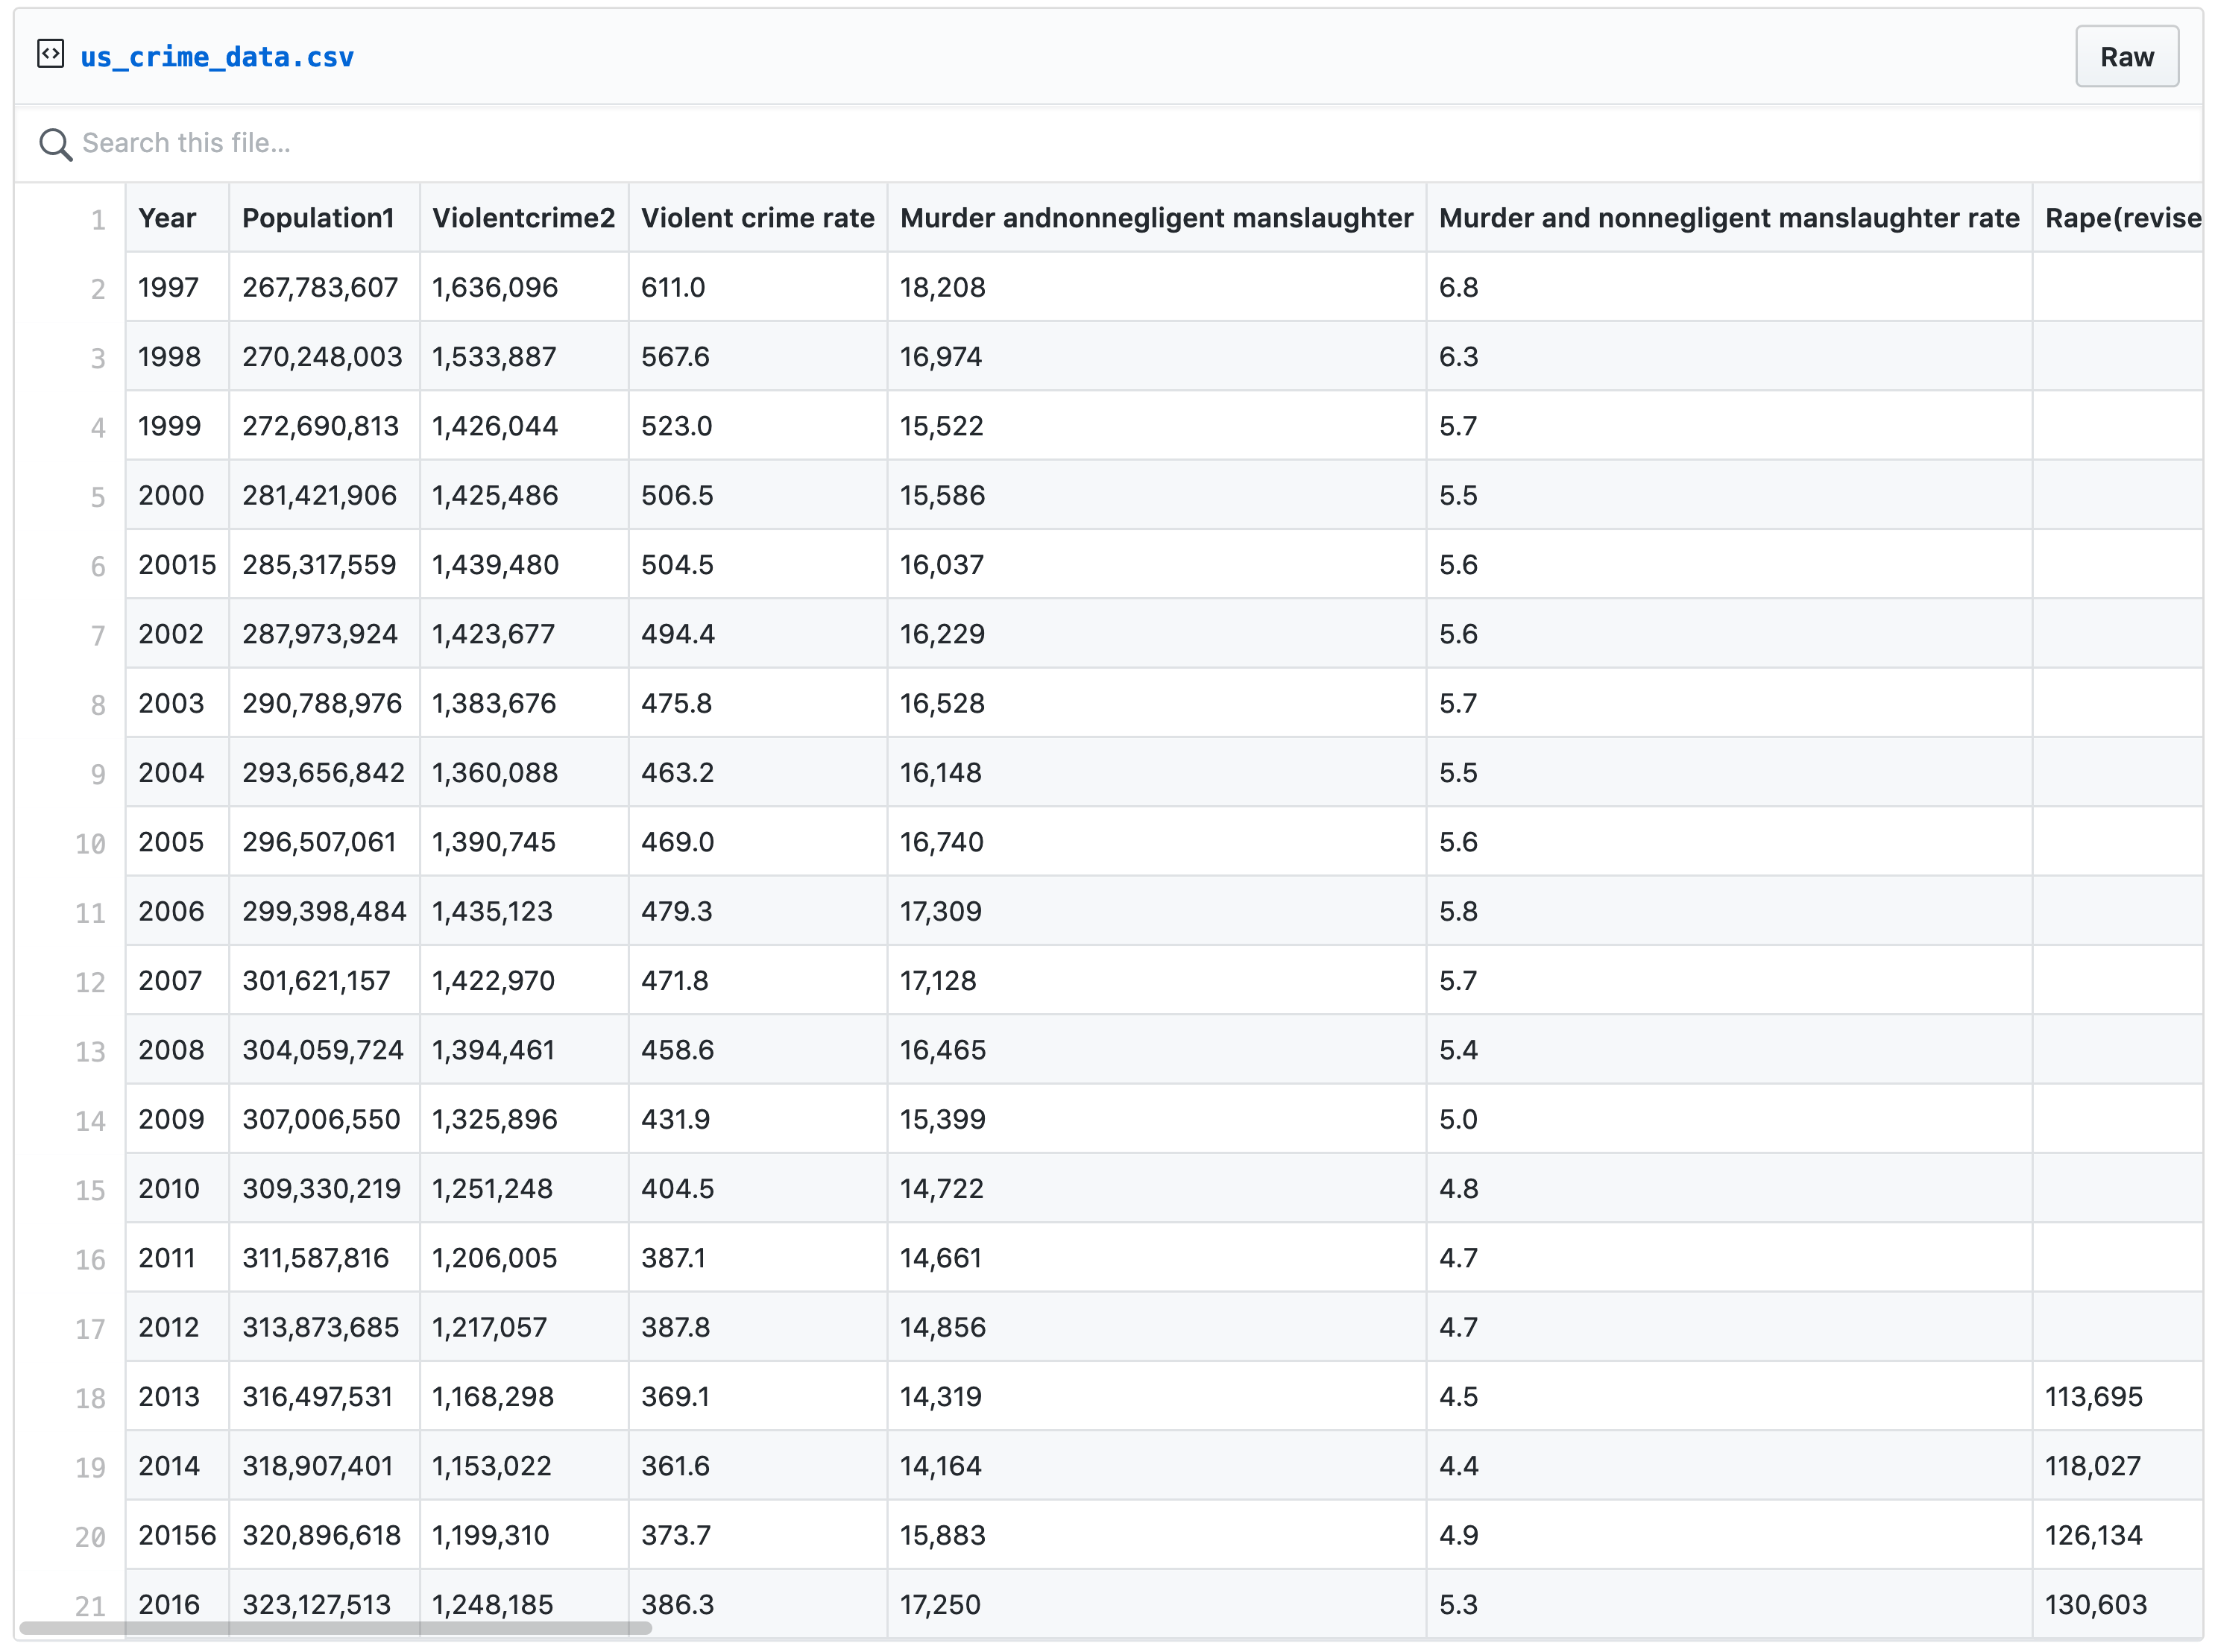
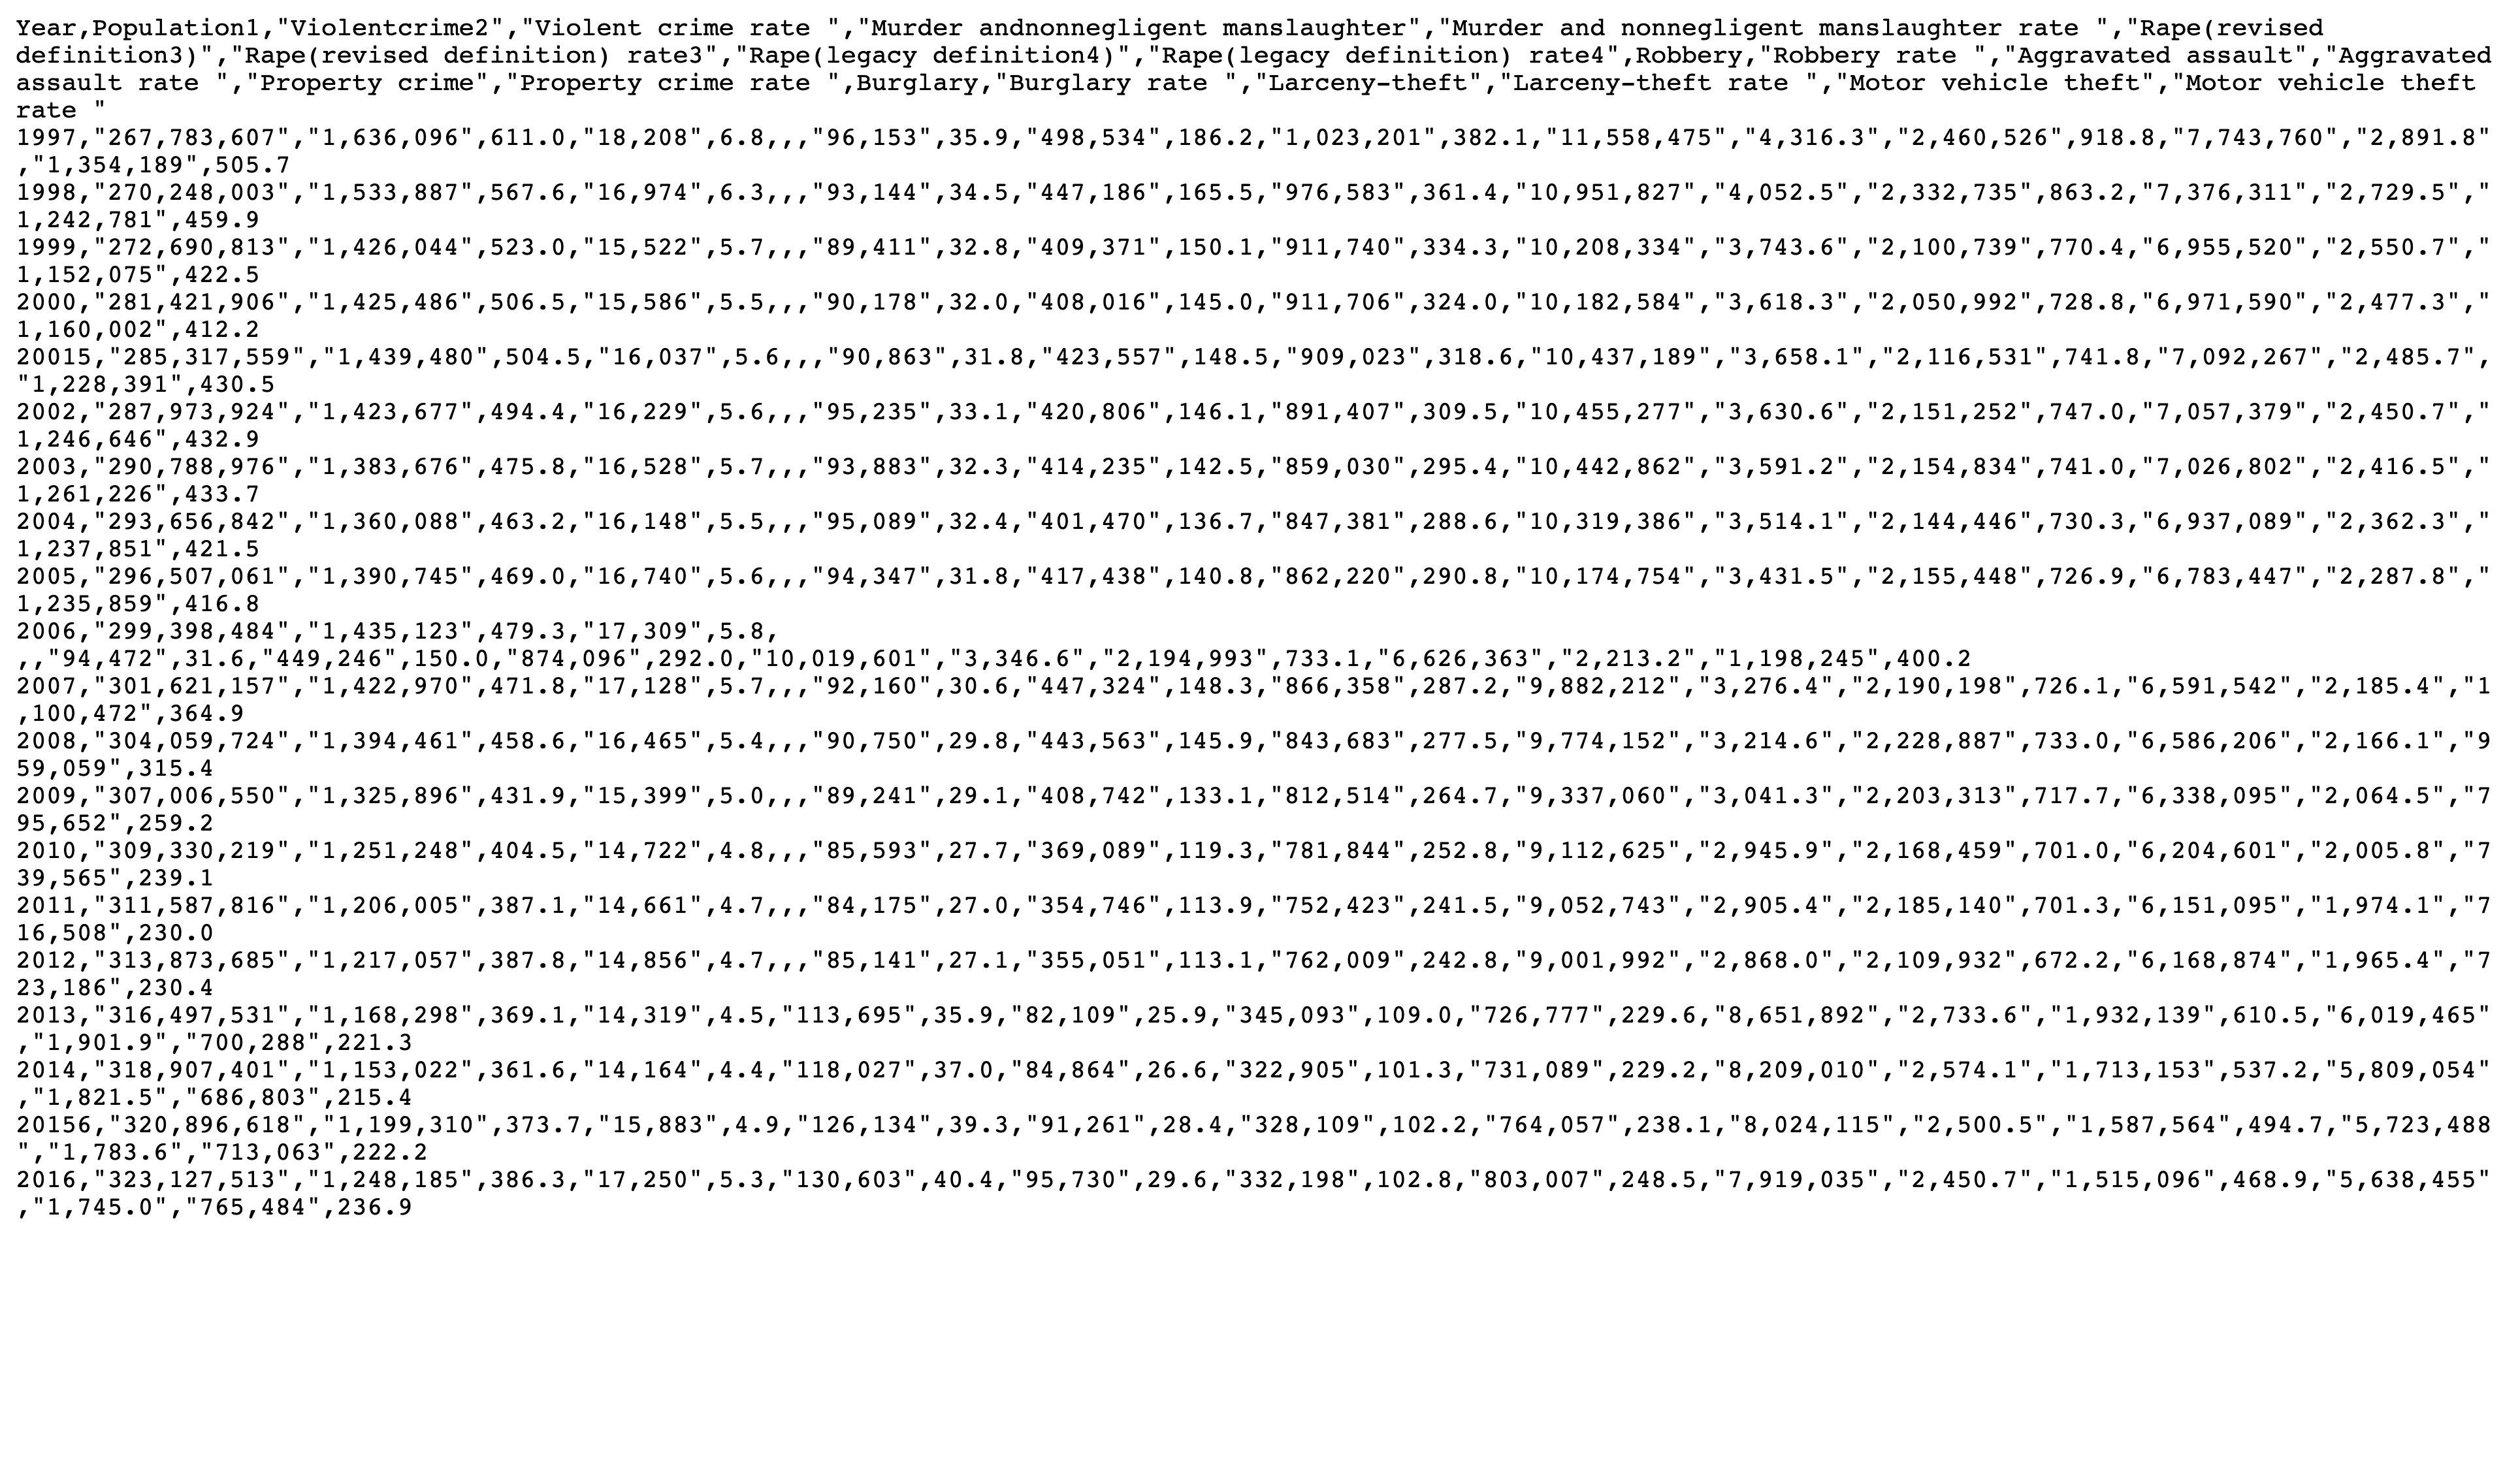
Github
Right-click the Raw button and Copy Link Location.
iCloud Drive
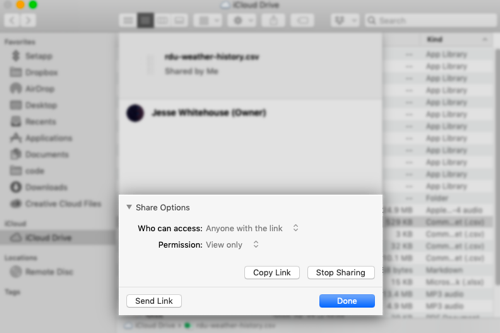
Generate a share link and copy it to your clipboard. Open a new browser tab and
enable its network inspector. Paste the URL and hit Enter.
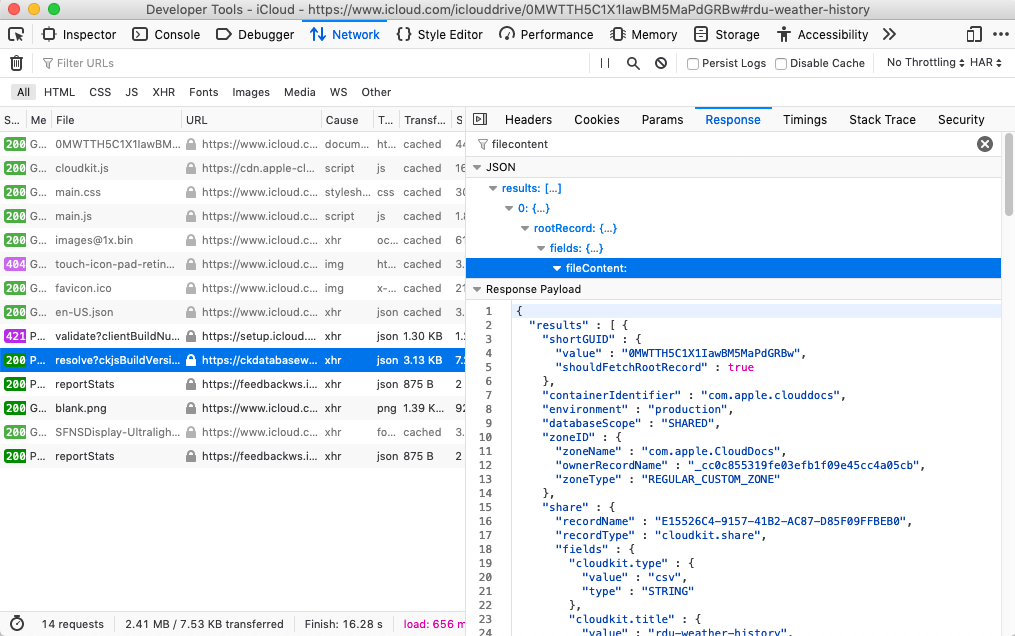
The network inspector will show a HTTP POST to a URL like this:
https://ckdatabasews.icloud.com/database/1/com.apple.cloudkit/production/public/records/resolve?
Info: The exact subdomain varies but is always prefixed with
ck(for CloudKit)
Inspect the JSON response to that request. The raw CSV URL is found at
results[0].rootRecord.fields.fileContent.value.downloadURL and looks like
this:
https://cvws.icloud-content.com/B/AYifvNUNnayDN0SZAlizP8ZfYUPMAfZEgQW_YFfb6FUKTWO6xVkZo04B/${f}?o=AgSnT48VhMQtC-elFkgjbrw22qBLn3uBOytgkANDgAtv&v=1&x=3&a=CAogw0DCZoo9iGQlDuozkTAtH4vQXNvV5qk9j5g56uwuzaESHRDd_IWOgy4Y3dnhj4MuIgEAUgRfYUPMWgQZo04B&e=1581386329&k=Yc1Tyt4g4oKp6blXKa6yBA&fl=&r=b5089feb-afa2-4d0f-b207-9c9b16524c61-1&ckc=com.apple.clouddocs&ckz=com.apple.CloudDocs&p=24&s=UoT0siK5WgA5WNxN47jHUDlSzQoStep 3: Pull the data into DataReporter
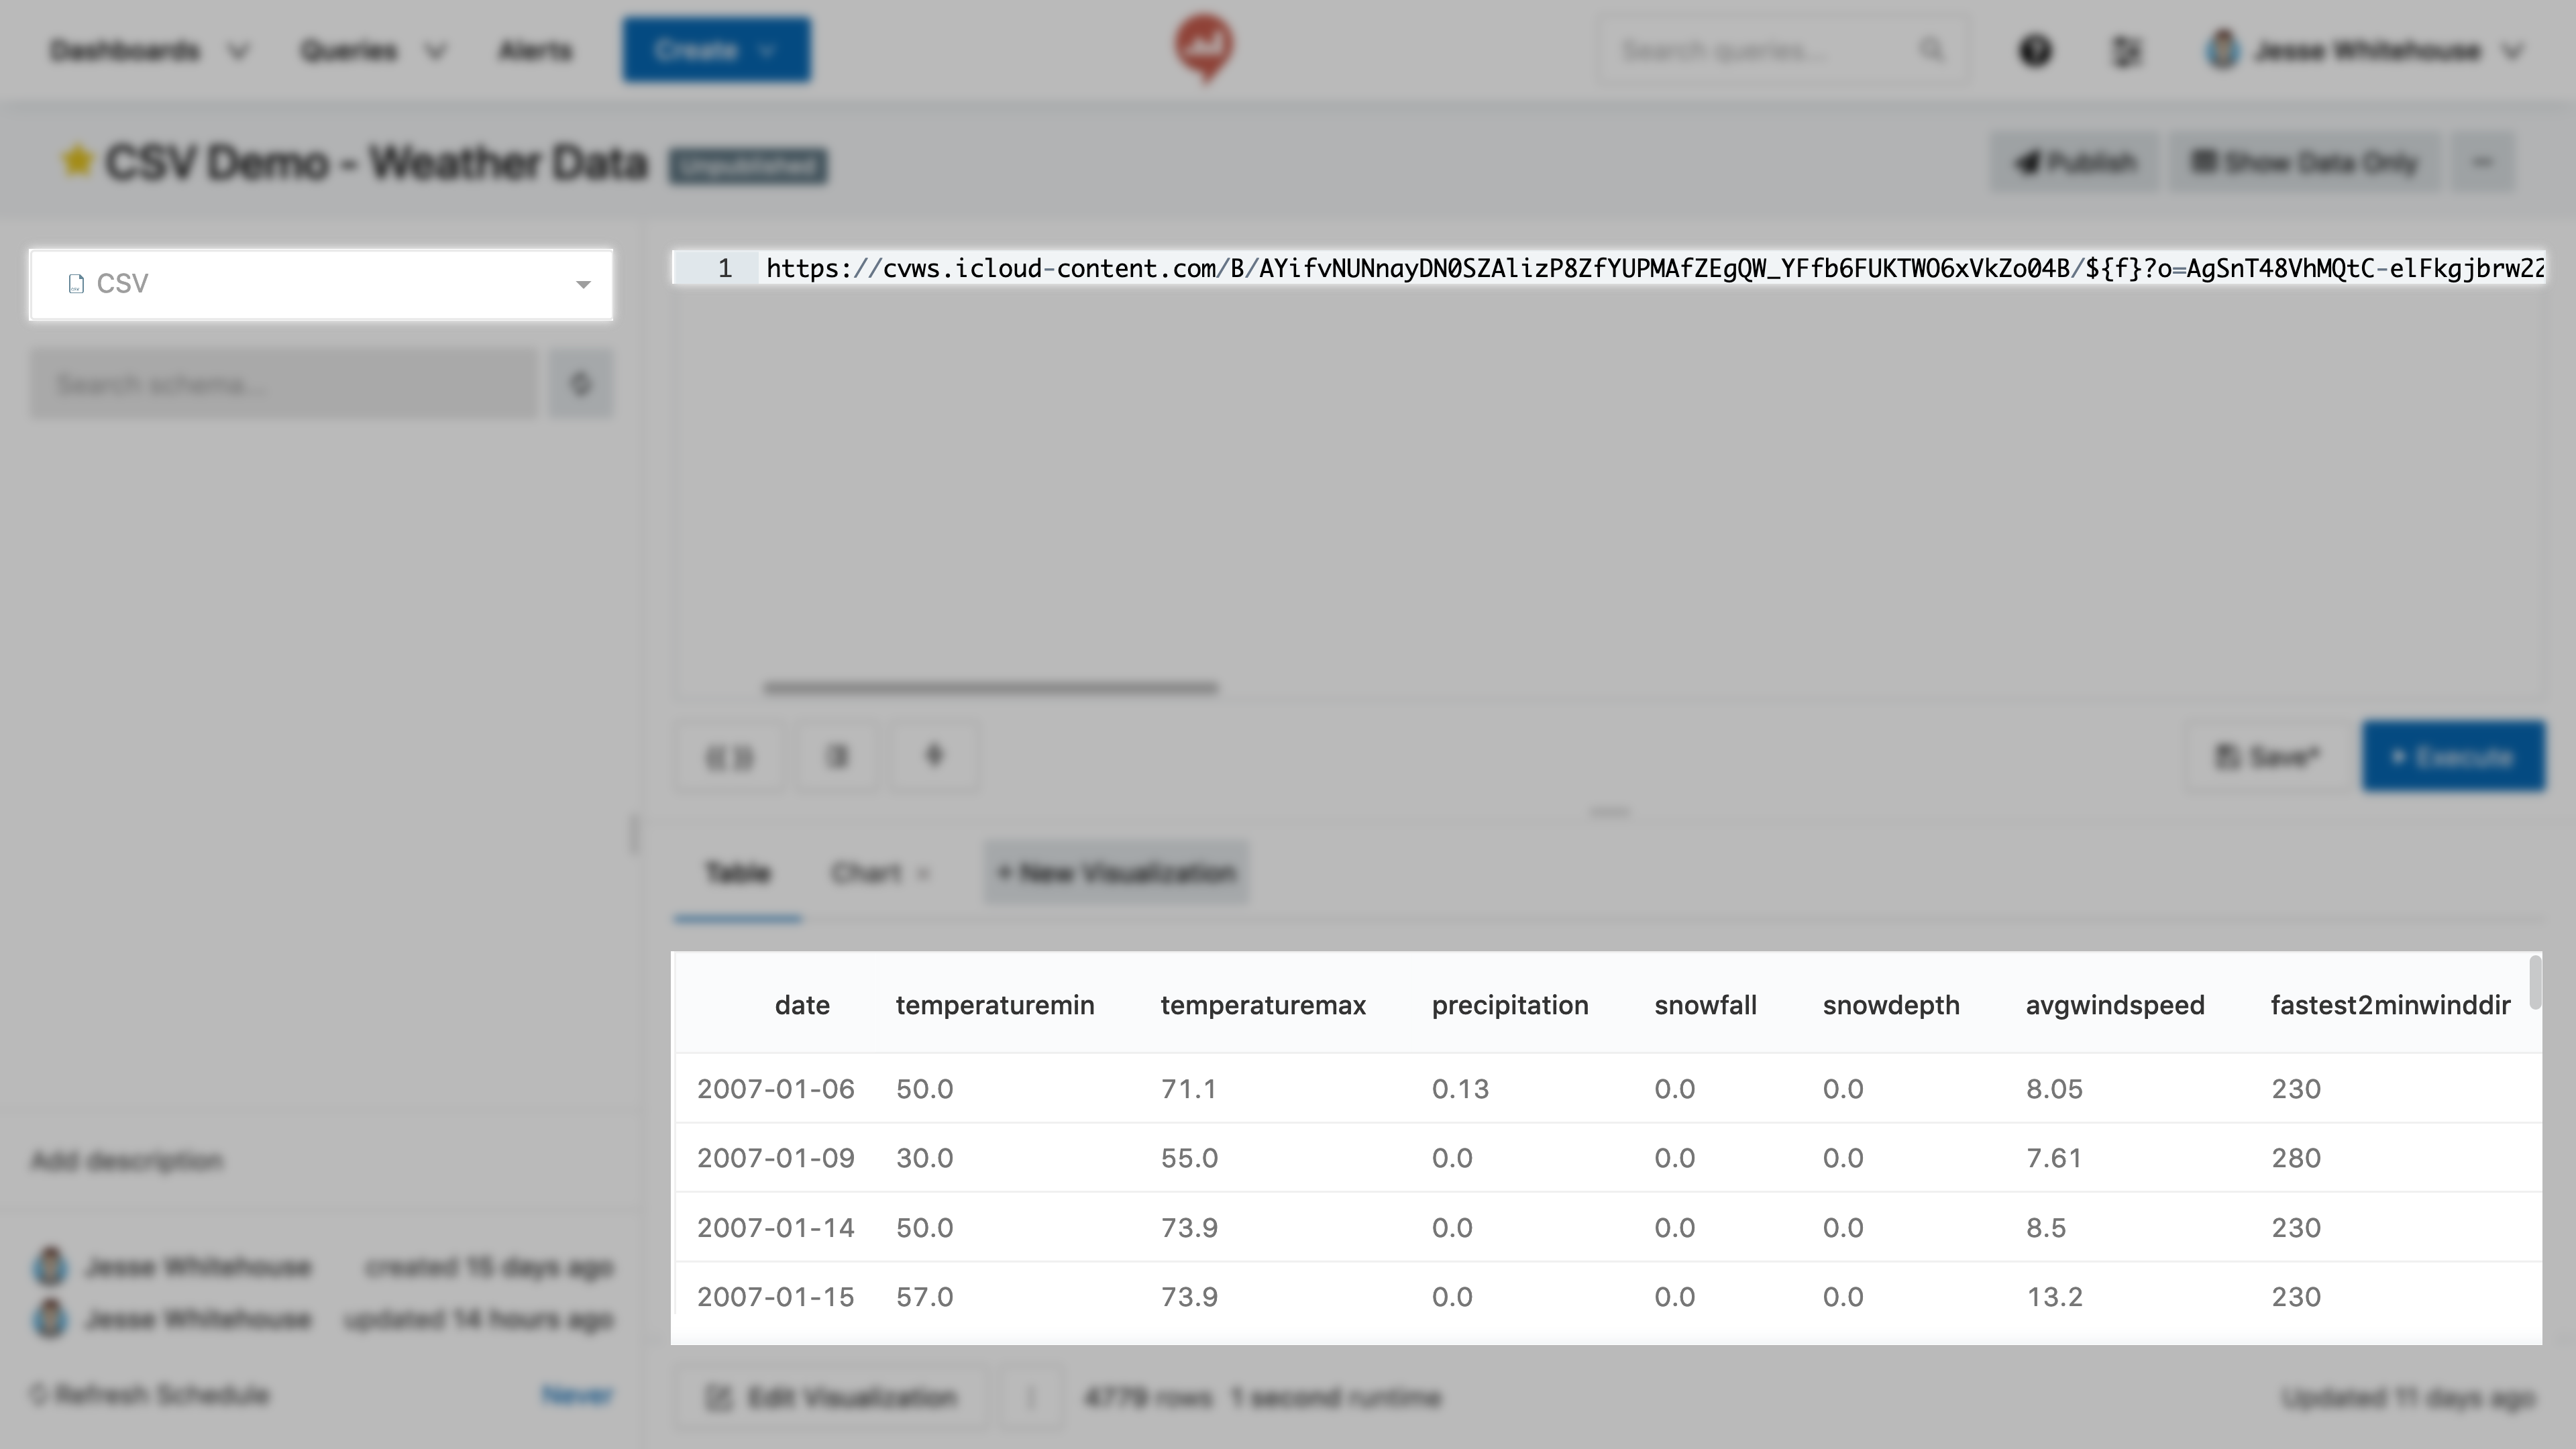
- From the top menu click Create then New Query.
- Set the data source to CSV data source from step 1.
- Paste the URL from step 2 into the query editor.
- Click Execute.
Info: DataReporter expects a CSV file with a header as the first row.
The CSV data is now available to DataReporter. If everything looks correct click Save. Then copy the query ID from the URL bar.
Step 4: Query the data with QRDS
- From the top menu click Create and New Query.
- Set the data source to the Query Results data source from step 1.
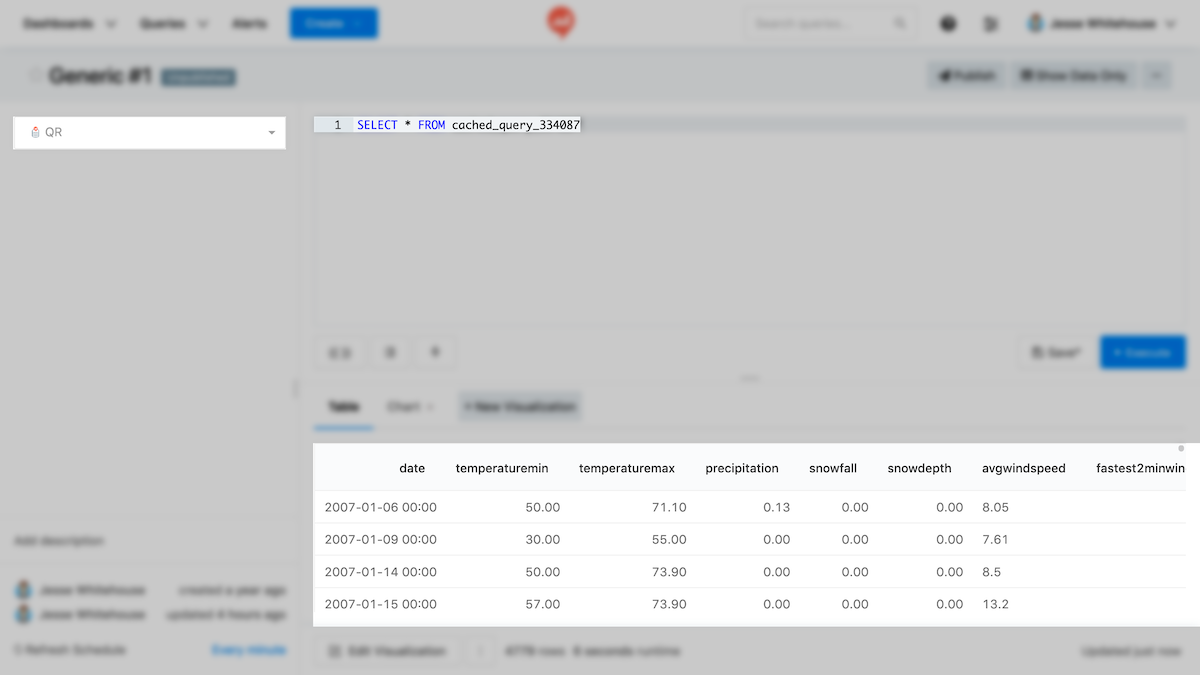
There’s a complete discussion of QRDS elsewhere in our documentation. A good first query looks like this.
SELECT * FROM cached_query_xxxxJust replace cached_query_xxxx with the ID of your query from step 3 and click
Execute. All the data from your CSV will appear in the results panel.
Info: It makes sense to used
cached_queryinstead ofquerybecause the CSV file is unlikely to change. QRDS queries are also faster when a cached result is used.
Now you can use QRDS to filter, aggregate, and combine the CSV using SQLite syntax.